Connect Polkadot to a Next.js website with @polkadot/extension-dapp
Software Developer
🔗 Links
🌴 My Links
📰 Published on
🤓 Intro
As a developer, it's essential to understand the differences between various blockchain platforms to choose the right one for your needs. One key difference(as for me) is the availability of technical resources and tutorials for developers. Ethereum has many articles and tutorials demonstrating how to connect a wallet to a website, whereas there is less information available on Polkadot. This may make it easier for developers who are new to Ethereum to get started and learn how to build applications on the platform.
It's important for developers also to be familiar with Polkadot and how to build on its platform, as it has unique features and potential applications.
Developer Experience outside just documentation is quite important nowadays for the web3 community.
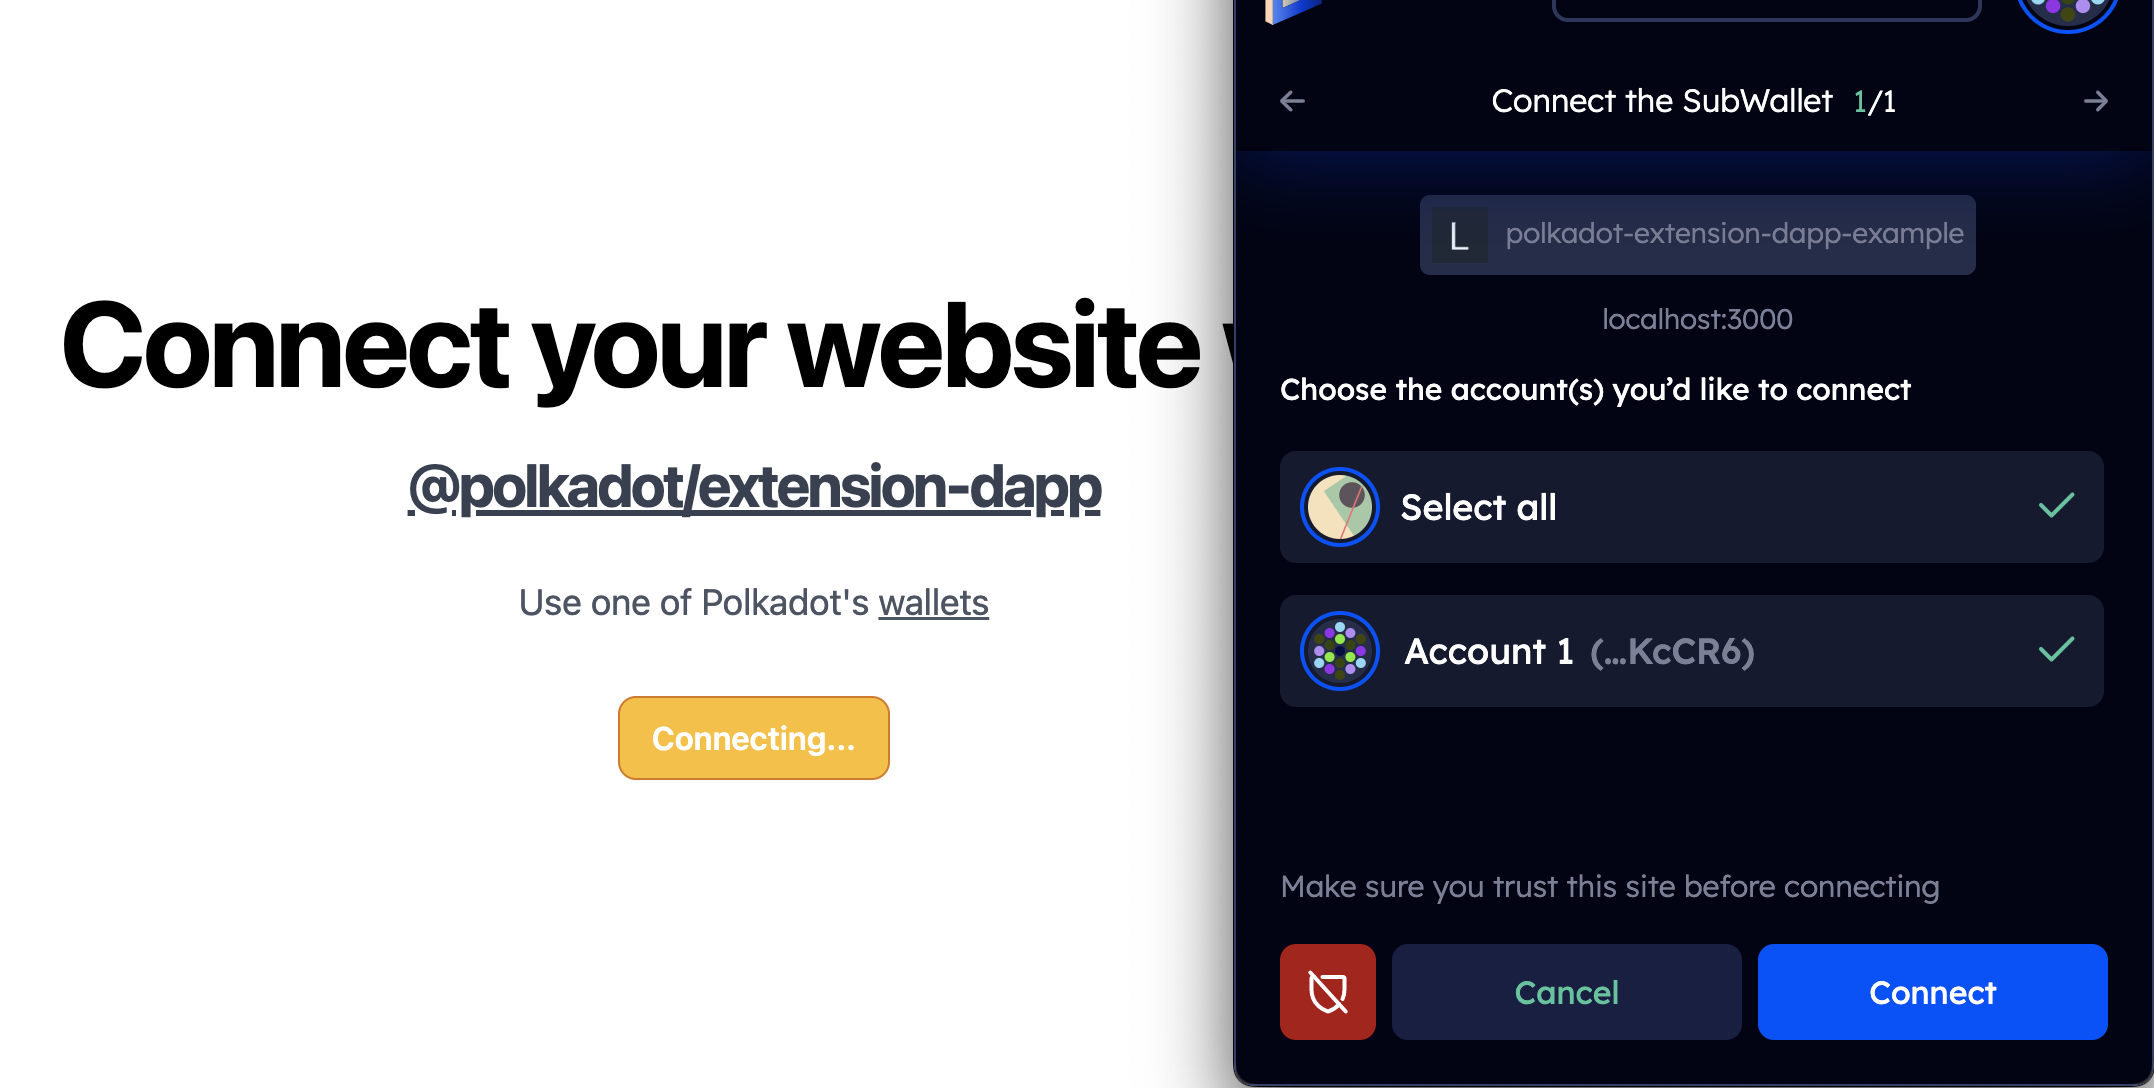
In this article, I will show an example of how to connect a SubWallet(that's what I have used) to a Next.js website.
Technology
On Ethereum, we have web3.js and ethers.js for connecting to a website and many different libraries built on top of it. For example, many projects I have seen use wagmi with React.js. It is just a blessing, such as it includes a full list of functionality that you need to have to interact with blockchain: "Connect Wallet" display ENS and balances information, sign messages, interact with contracts, and much more — all with caching, request deduplication, and persistence.
Polkadot has production-ready libraries and tools to work with blockchain, and one of them is @polkadot/extension-dapp. That's what we would use to "Connect Wallet".
🧑💻 Coding
We will use the default Next.js app, so nothing is new here. Check out Getting Started to remind yourself of Next.js.
The most crucial point with @polkadot/extension-dapp is that it needs a browser to run, so with Next.js, we need to render the "Connect" button only during Client-Side rendering. For that, we would use dynamic import.
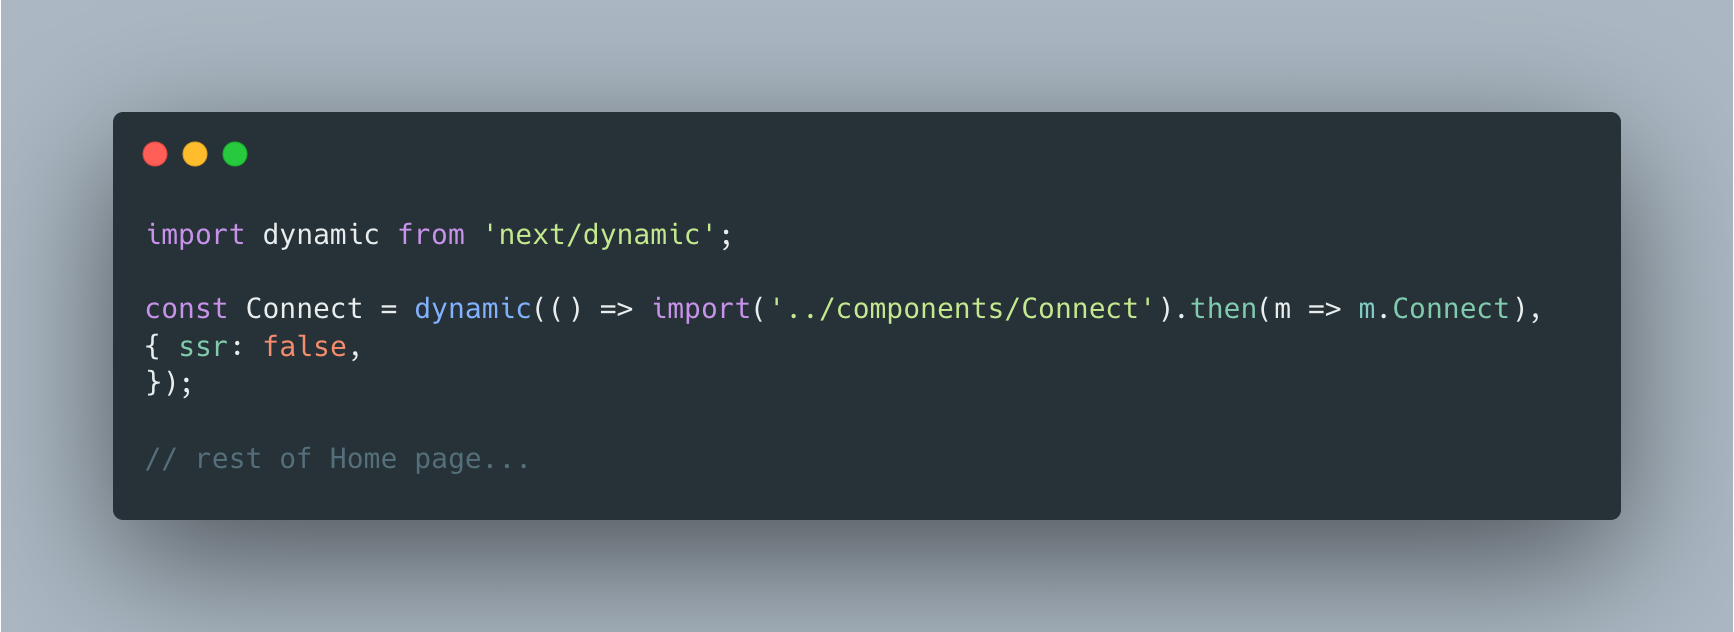
On the Home page, we load our Connect component dynamically. Connect components are where all magic happens.
Let's start with imports:
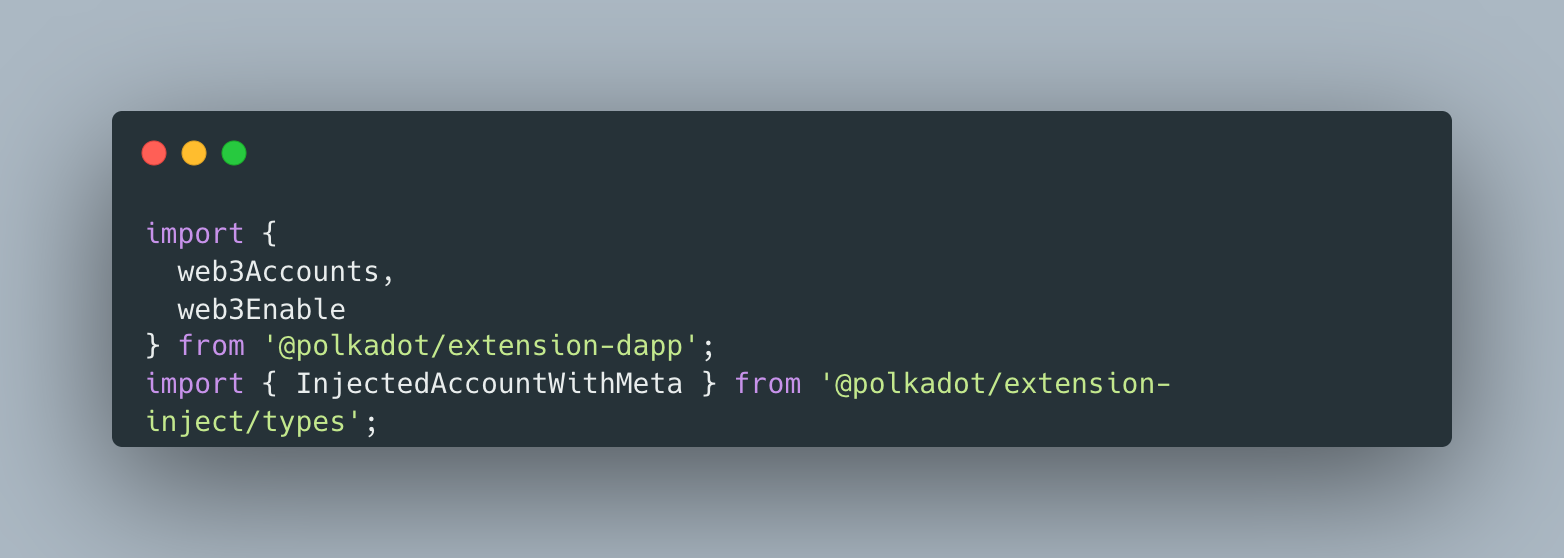
InjectedAccountWithMeta is a type of account that we would get. I imported it for TypeScript.
Our main focus here is web3Enable and web3Accounts .
I have used promise chaining down below, but if you prefer try-catch + async / await - go for it!
web3Enable
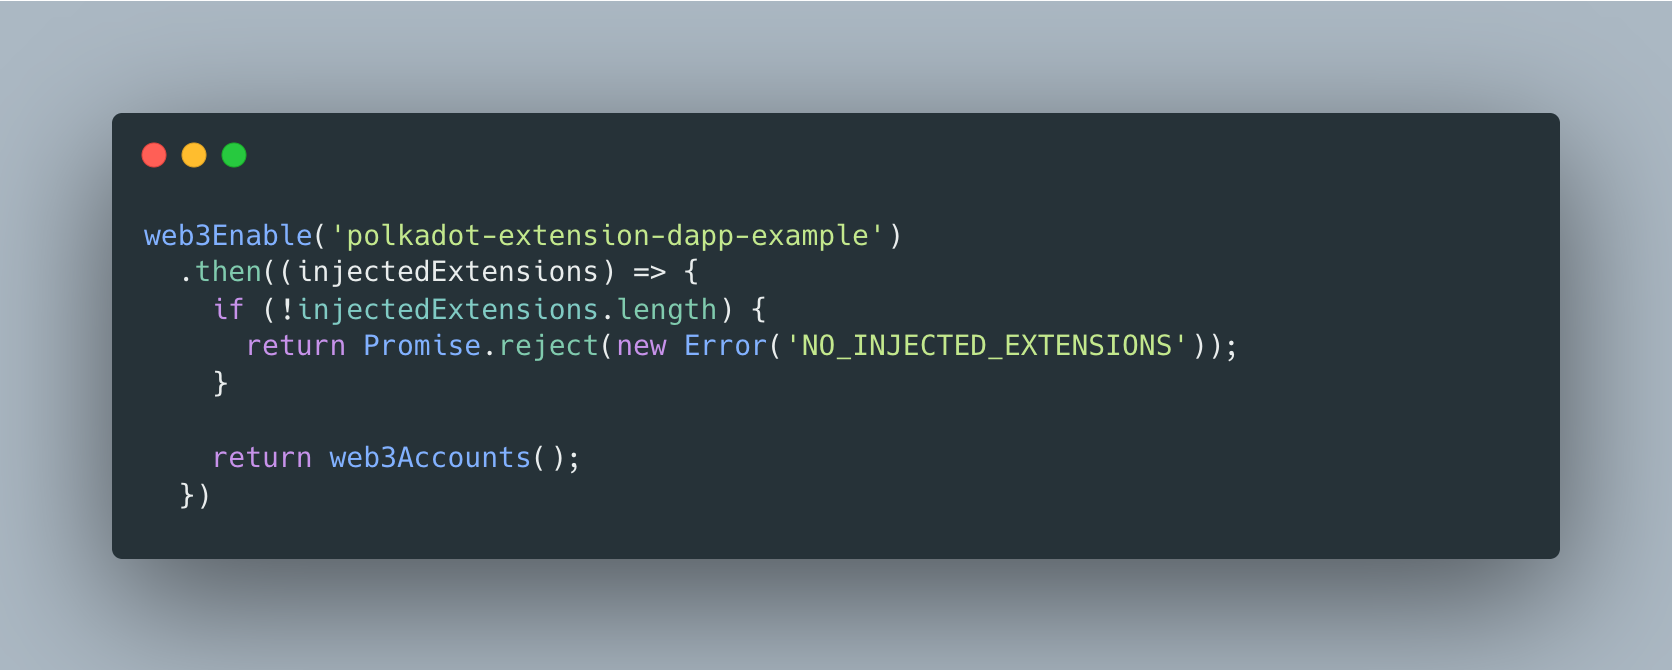
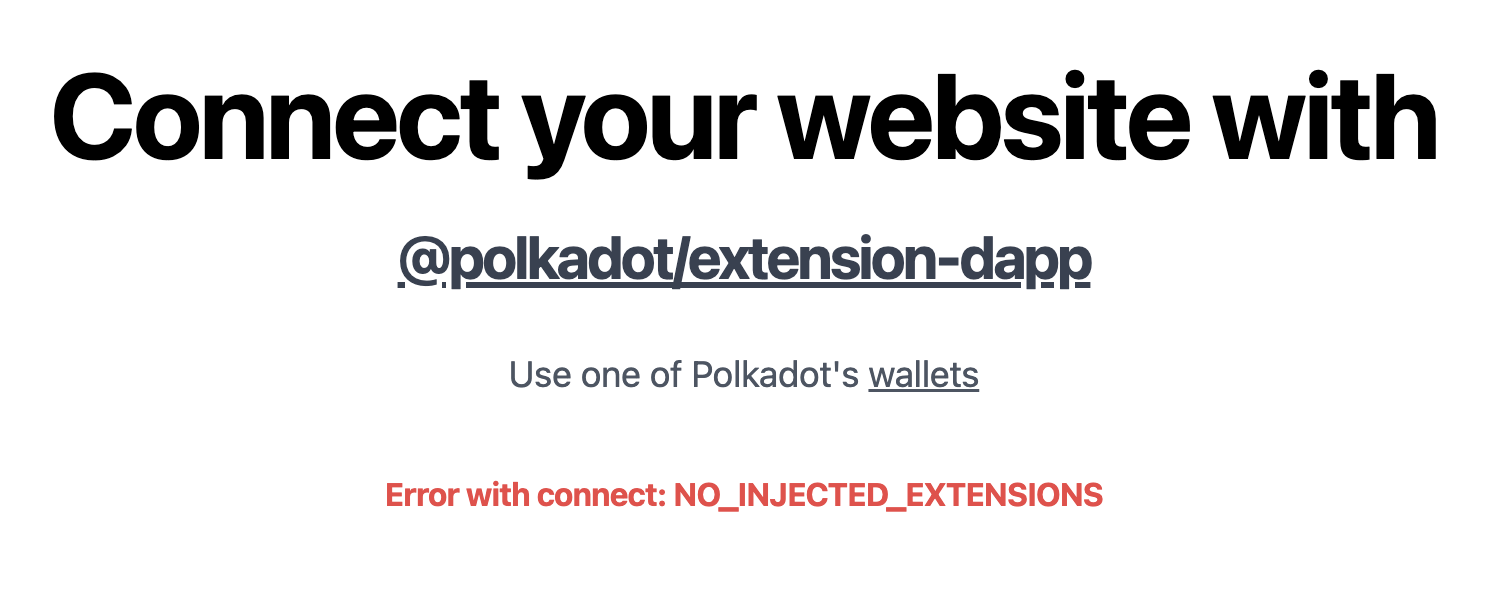
The initial function is to call even to check if our browser has any wallets to work with. In case we don't have anything to work with, the extension shows it in the console, and we also should throw an error to show the user that he should use the browser with a valid Wallet.
web3Accounts
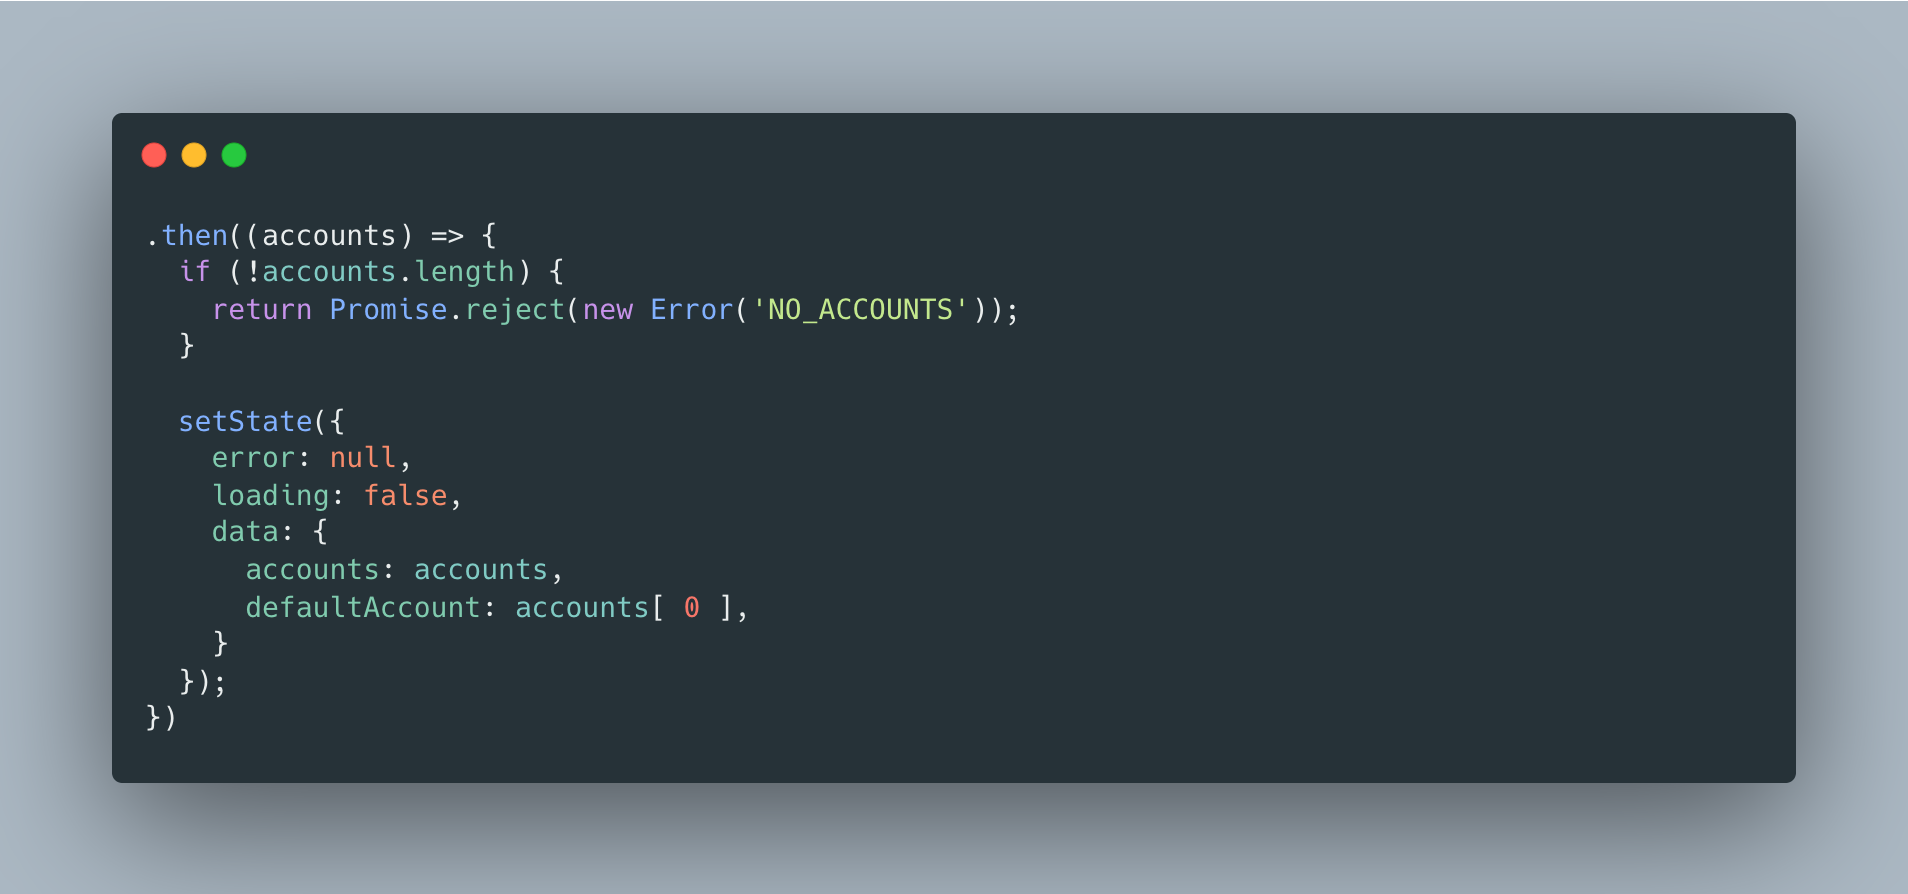
Same with web3Accounts - it would load accounts connected or prompt you to connect to the website if you opened it for the first time - a very familiar experience for web3 users.
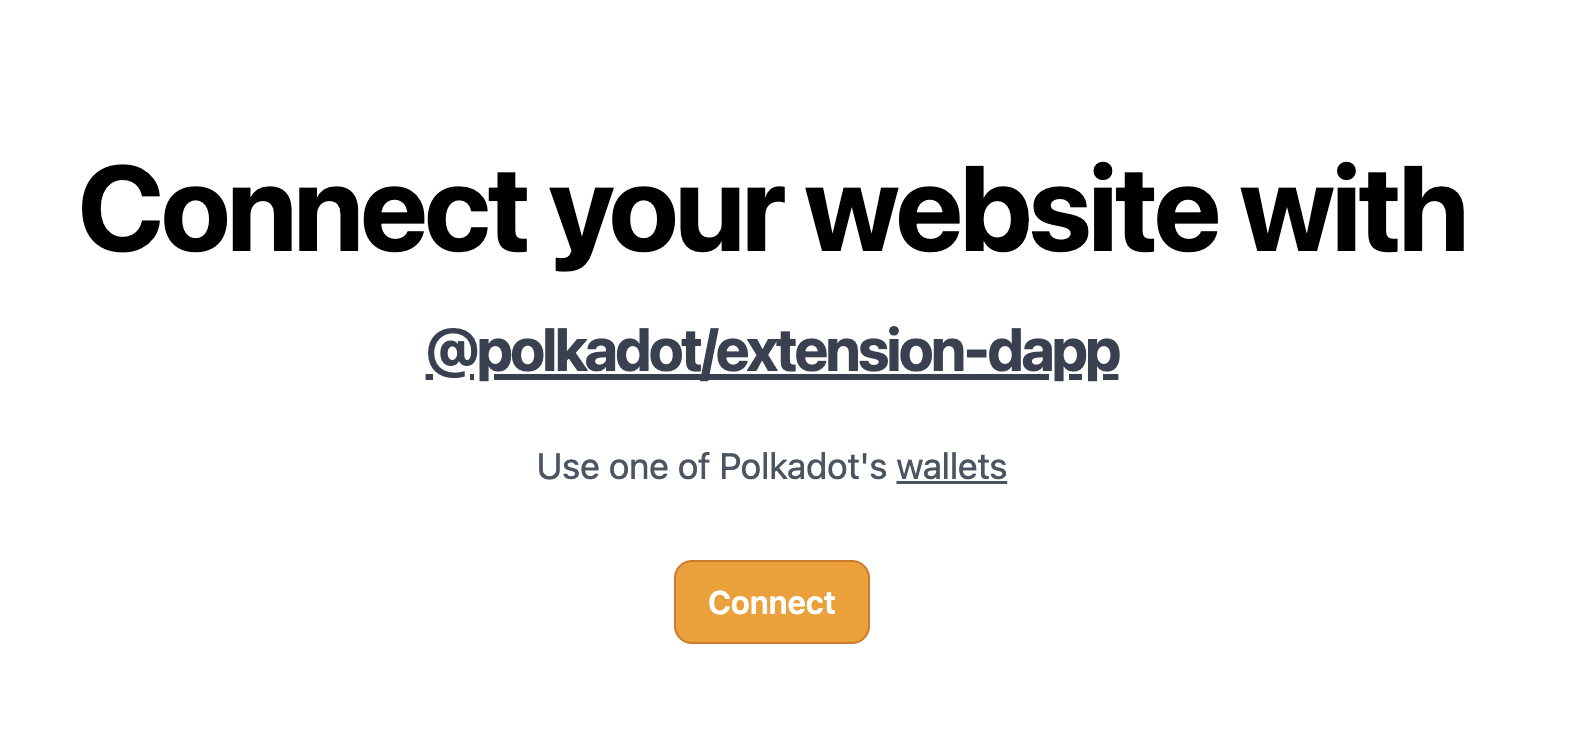
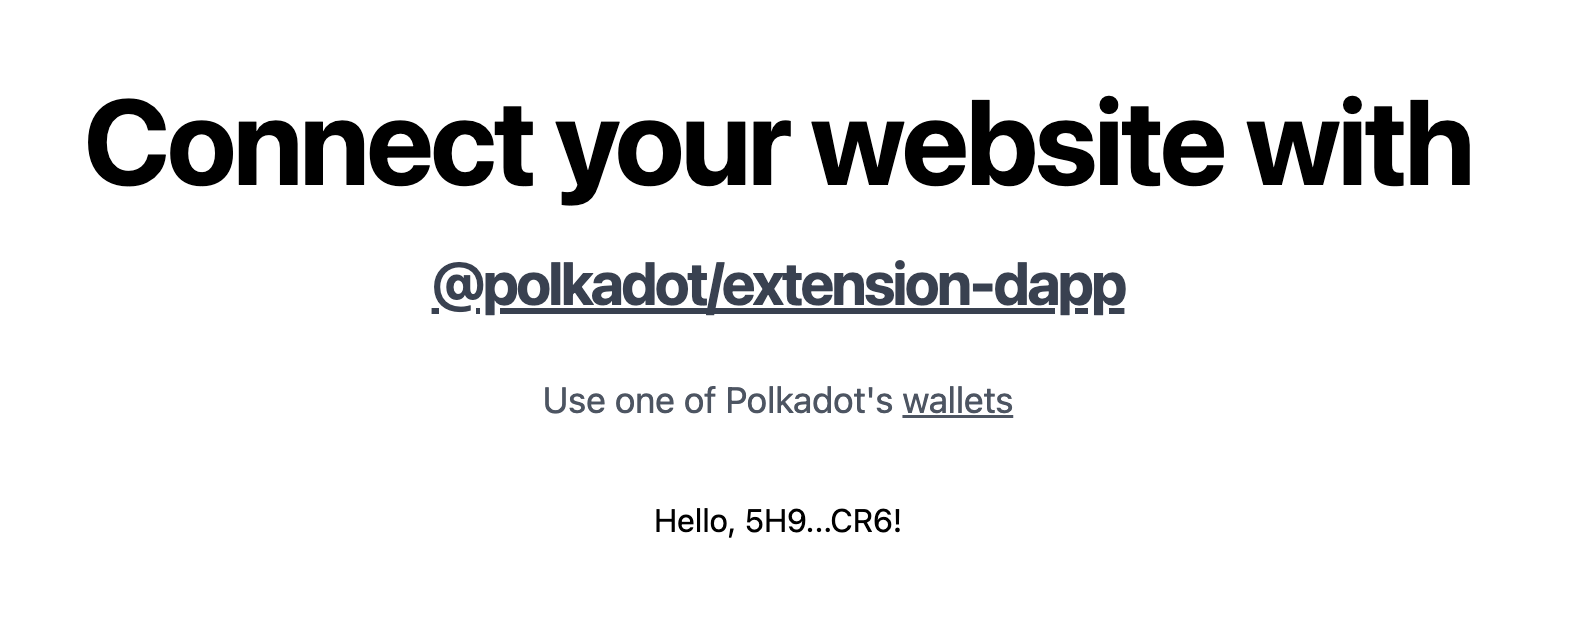
You could try out the flow on polkadot-extension-dapp-example | Deployed on Vercel, and it looks like this:
Disclaimer: I have tried only when I have 1 wallet, but for a simple example, it should be enough.

🧑🏫 Next steps and more examples
With a connected wallet and available account, you can do everything you want: check out how to create and sign a transaction, show <Identicon/> and more:
A more mature example using @polkadot/api , @polkadot/ui-keyring and more is PolkaVerse. It is a decentralized social network built on Subsocial - "The Blockchain for Social Finance".
Also, I have another project where I tried to use Subsocial API - it is raw-raw-raw cause it was fine for me to connect to Subsocial API and Polkadot to experience how things work. Feel free to check it out: https://github.com/andriishupta/subtips-app
Thanks for reading! 🙇